US +1 888 900 4529   |    UK +44 800 088 5522
About Us    |    Support
    Home MSG to MBOX How it Works

How it Works

STEP 1

First purchase the full edition of the software & install into the system.

STEP 2

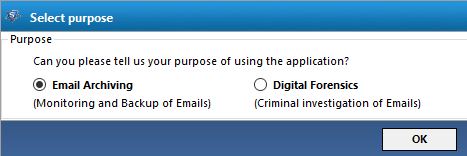
Now, application will start with two options

1: Email Archiving

2: Digital Forensics

Select Email Archiving option.

STEP 3

Now the application will automatically detect folder.

STEP 4

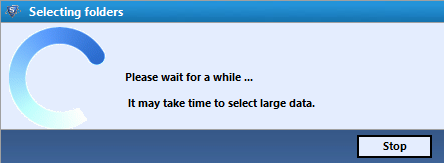
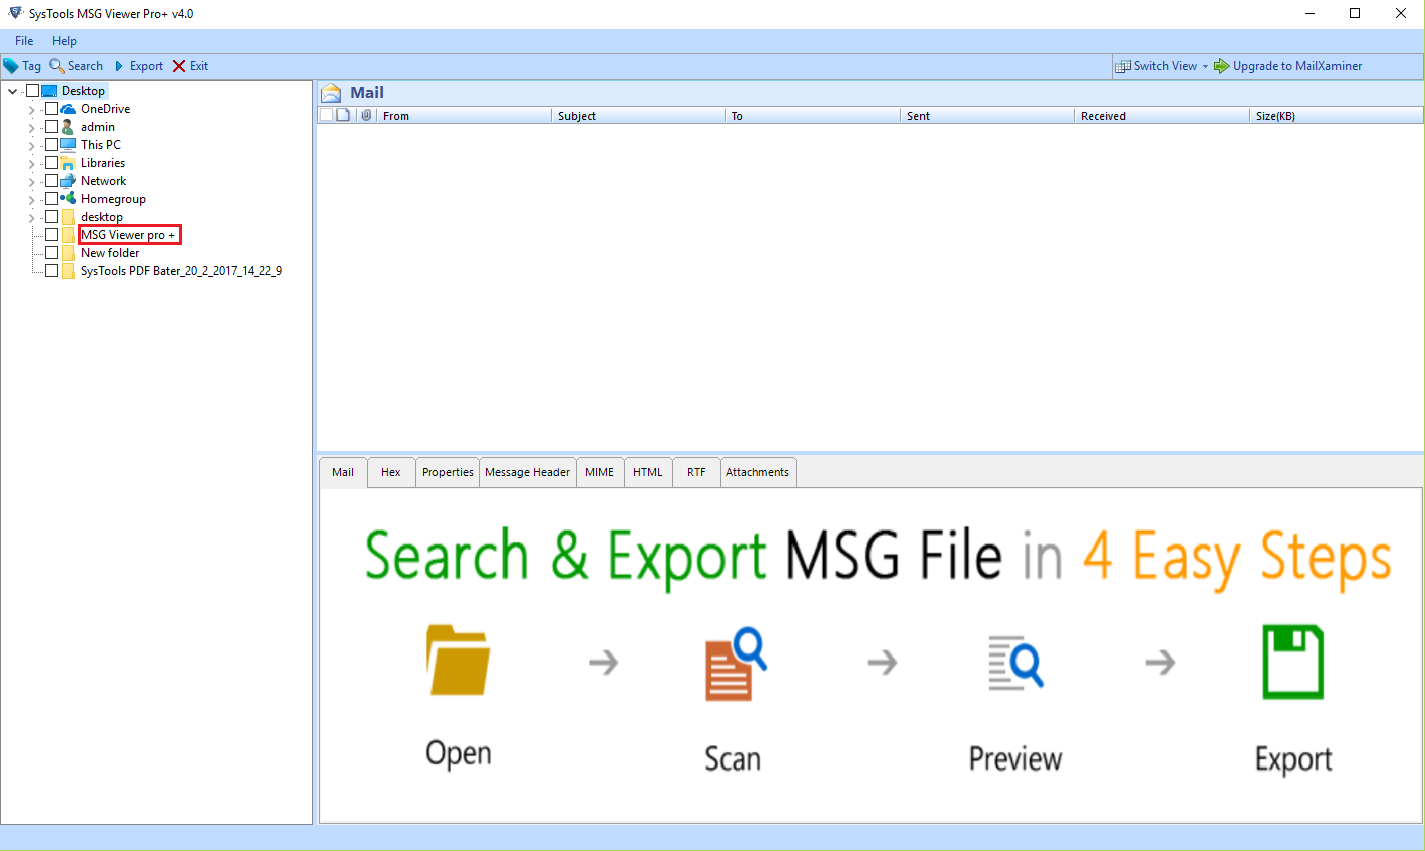
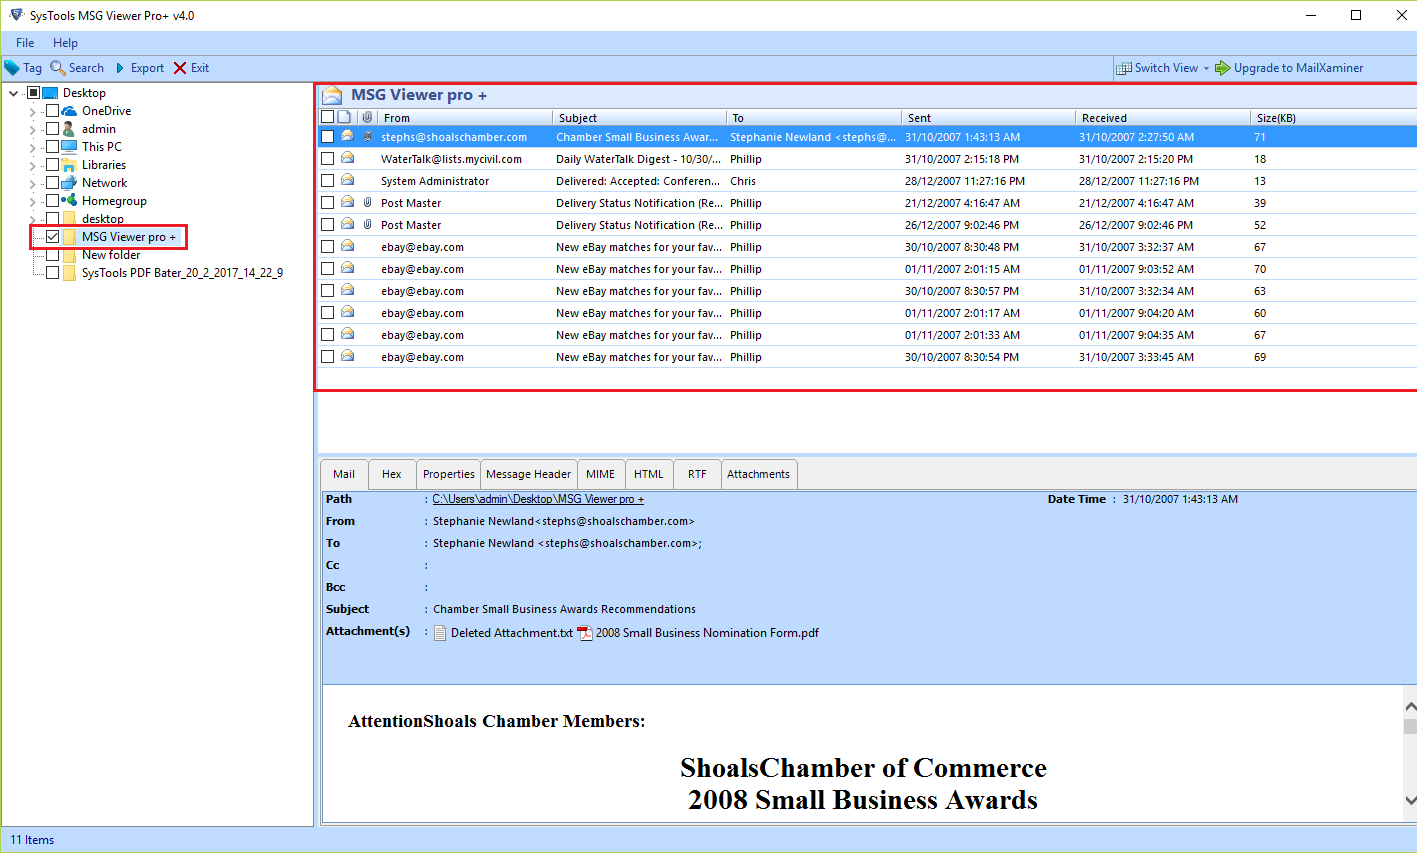
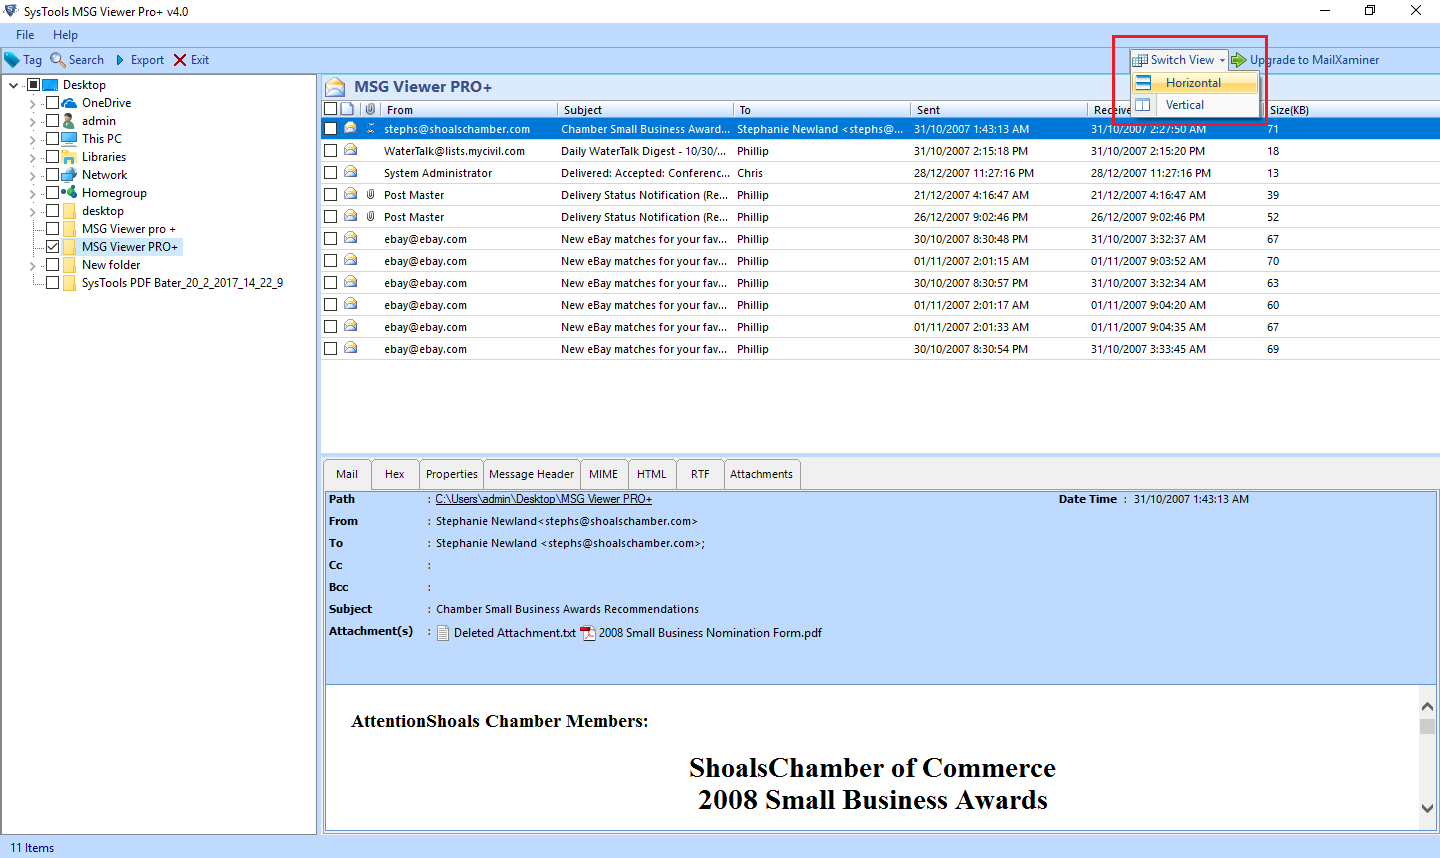
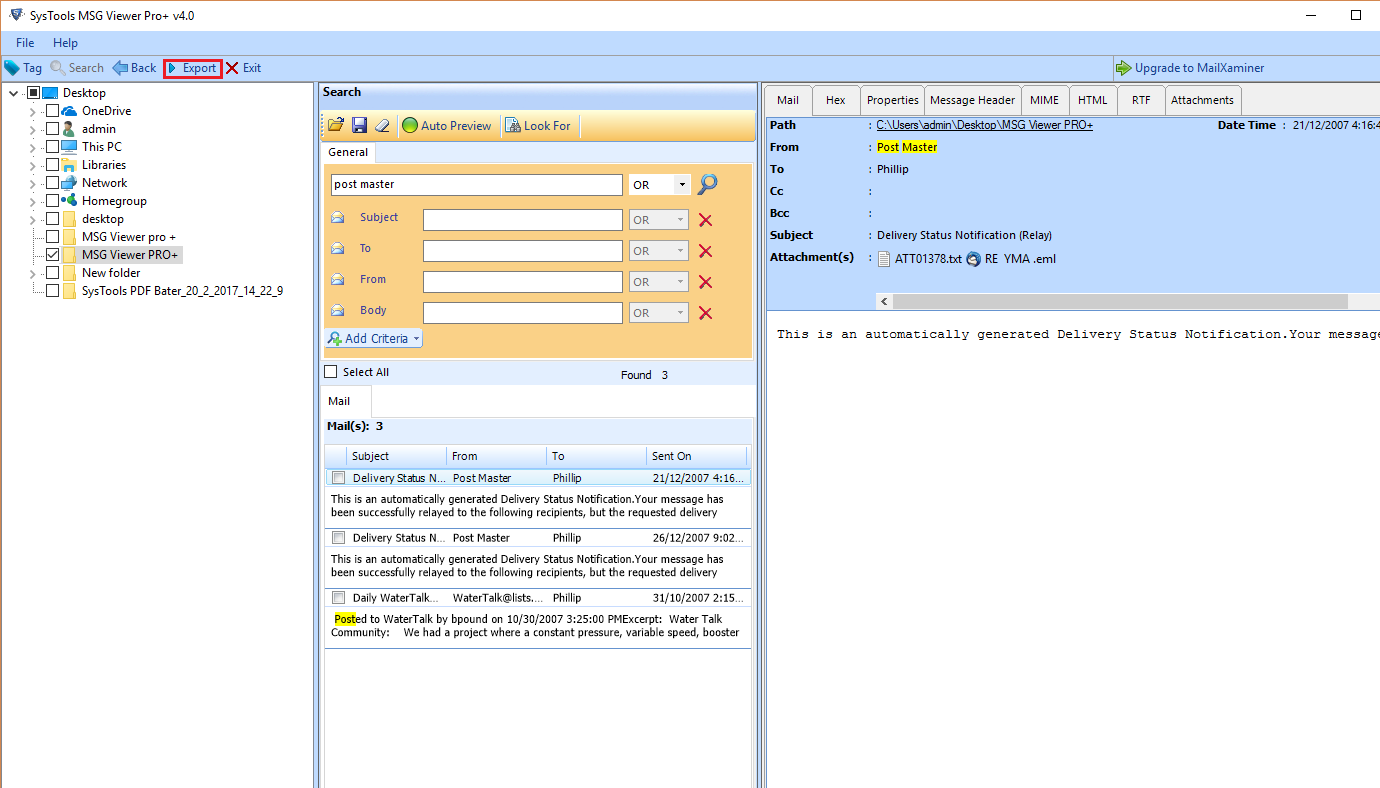
All folder structure will appear on the left side panel of the software you can select the specific folder in which files are located.

STEP 5

Now, you can see the entire MSG files into the software.

STEP 6

You can change the view of file & folders by clicking on Switch View button.

STEP 7

By using the Search button you can find the specific file.

STEP 8

After searching the specific keyword you can view searched result.

STEP 9

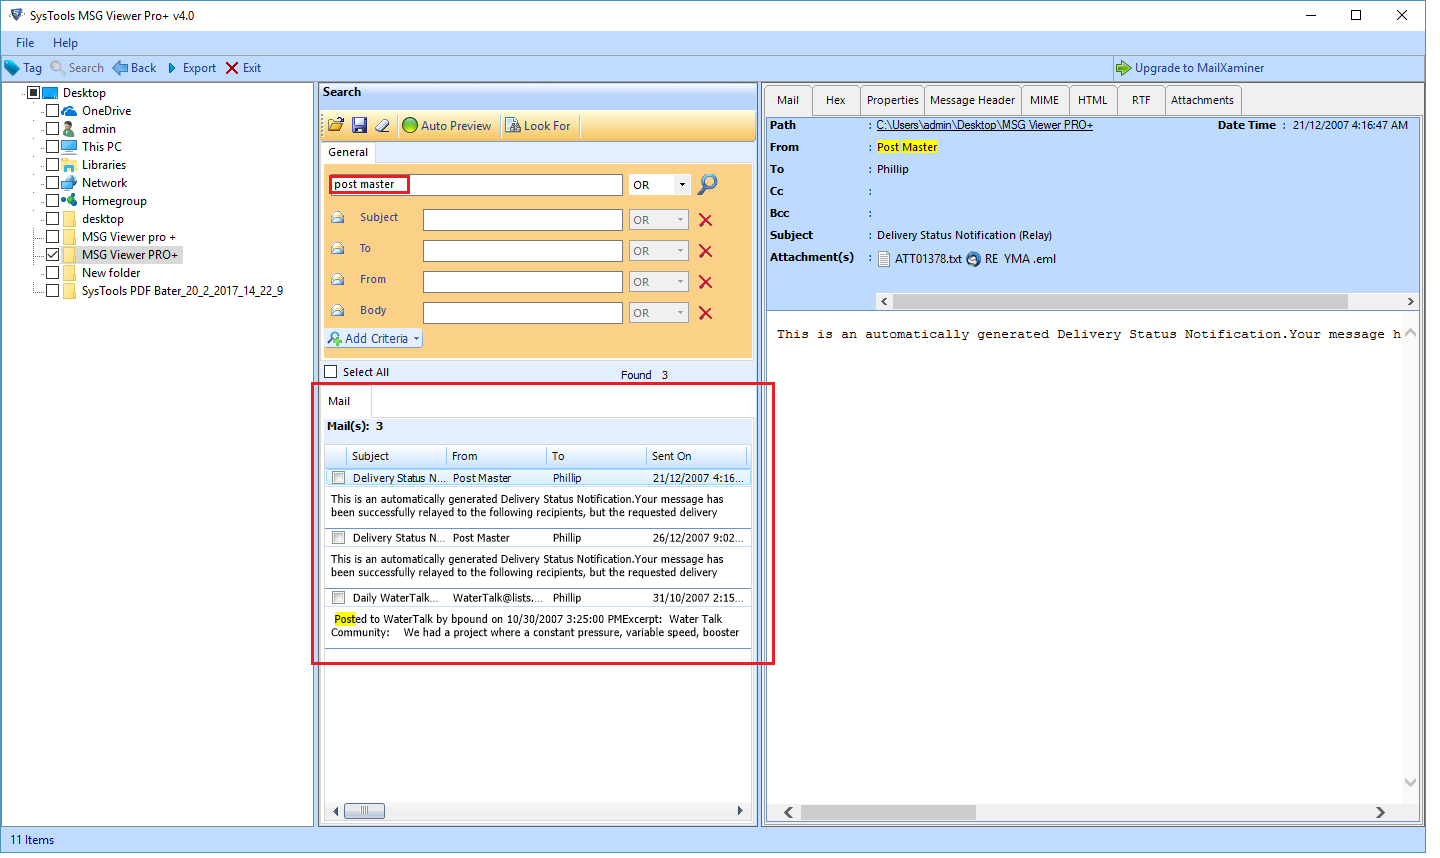
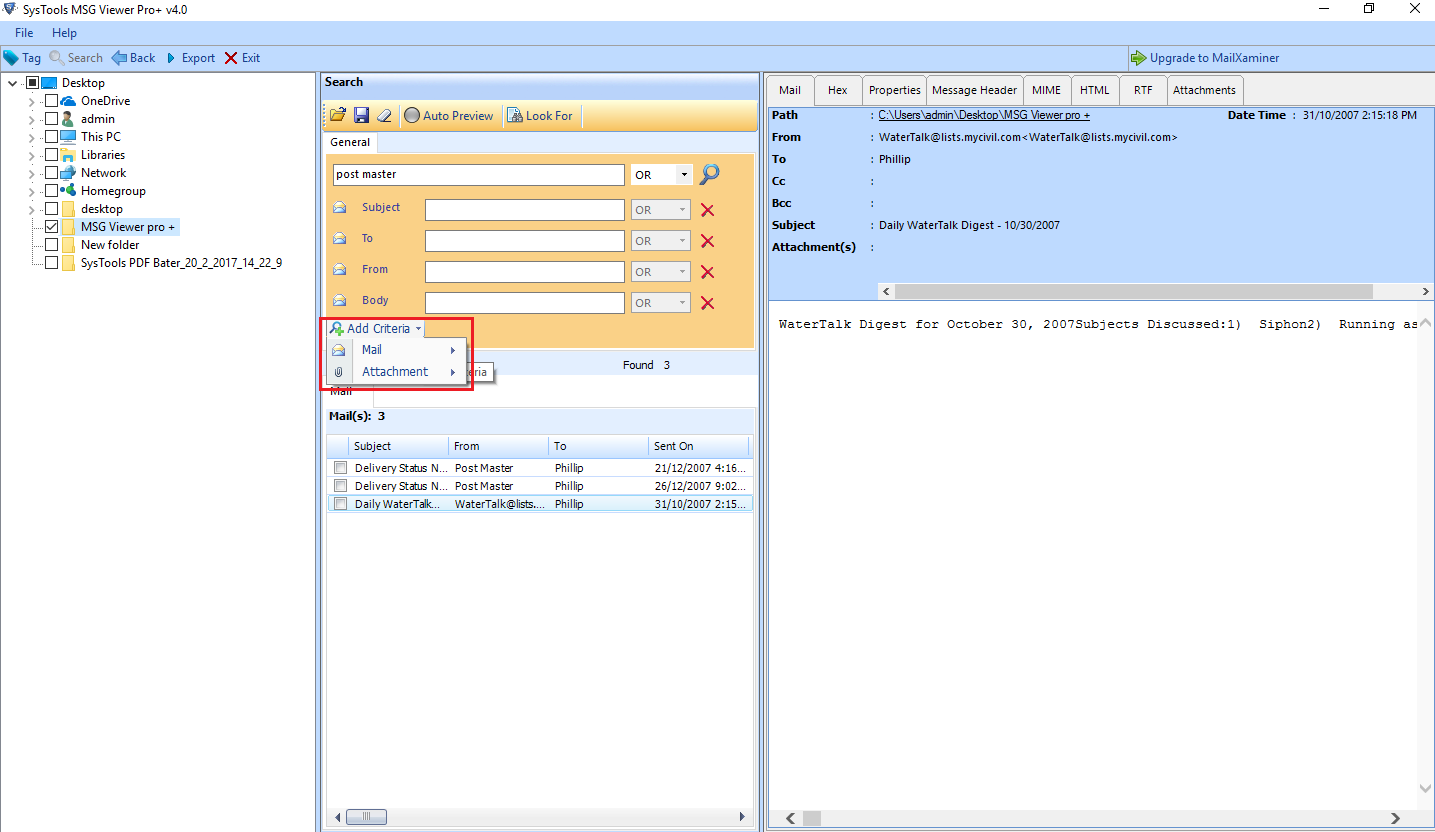
You can add some additional criteria by clicking on Add Criteria button.

Mail: You can specify the particular credentials for email such as To, Cc, Subject, Receive data, etc.

Attachment: You can specify the attachment name to search for the specific attachment file.

STEP 10

You can change the view by clicking on Auto preview button.

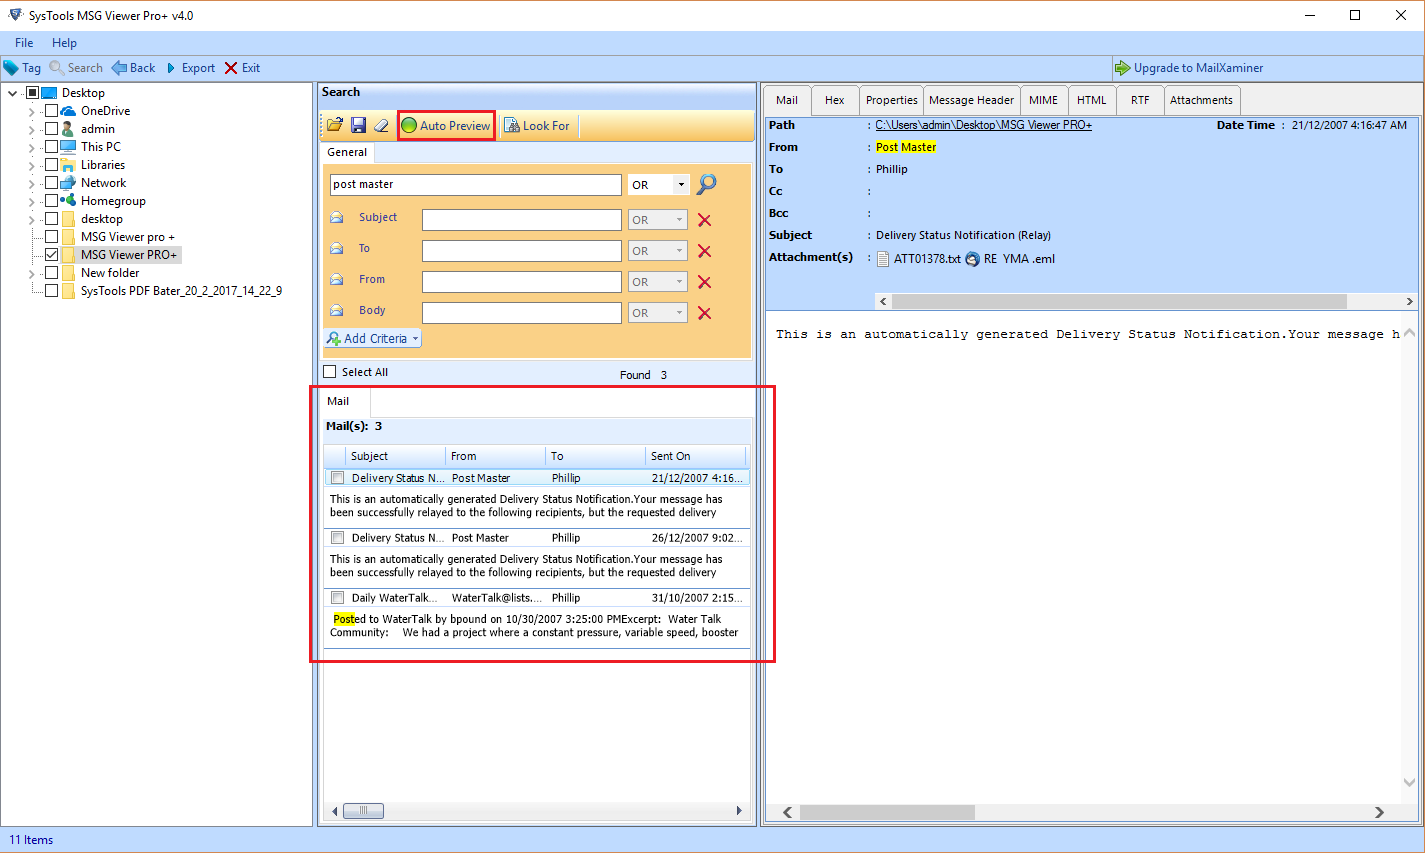
The software will hide the searched information when Auto Preview button clicked.

STEP 11

You can also save results by clicking the save results button.

STEP 12

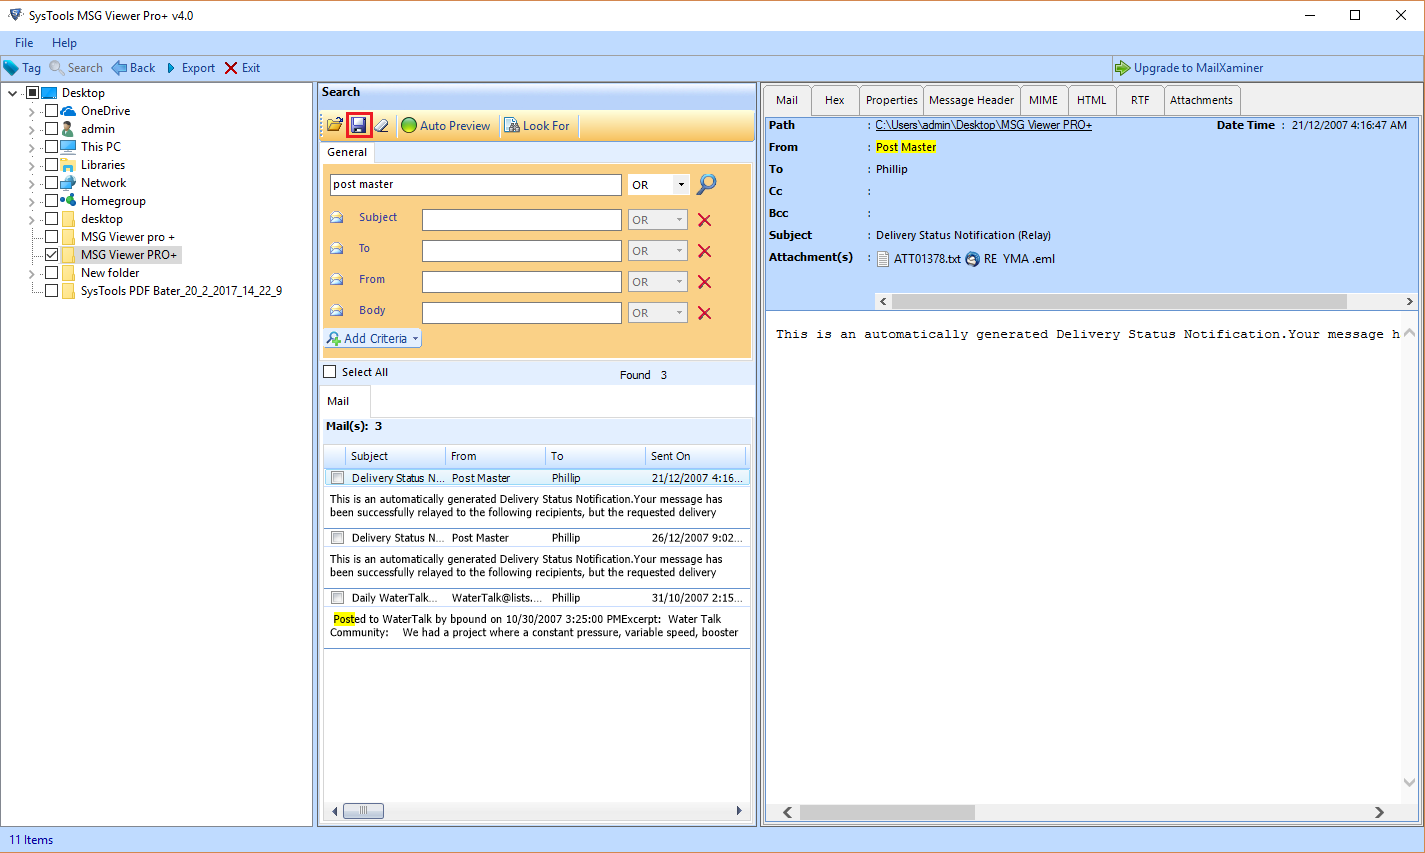
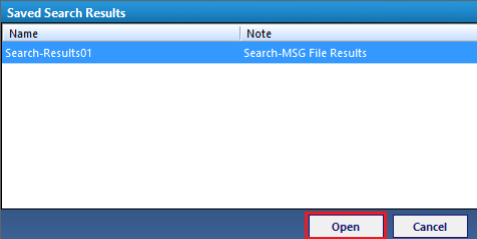
You can also open the save file through the tool by clicking on the Open file button.

The software will automatically detect saved results. Then click on Open.

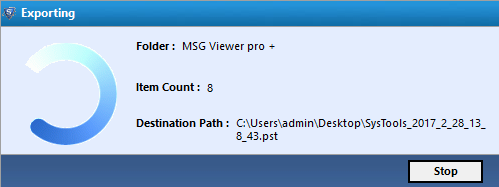
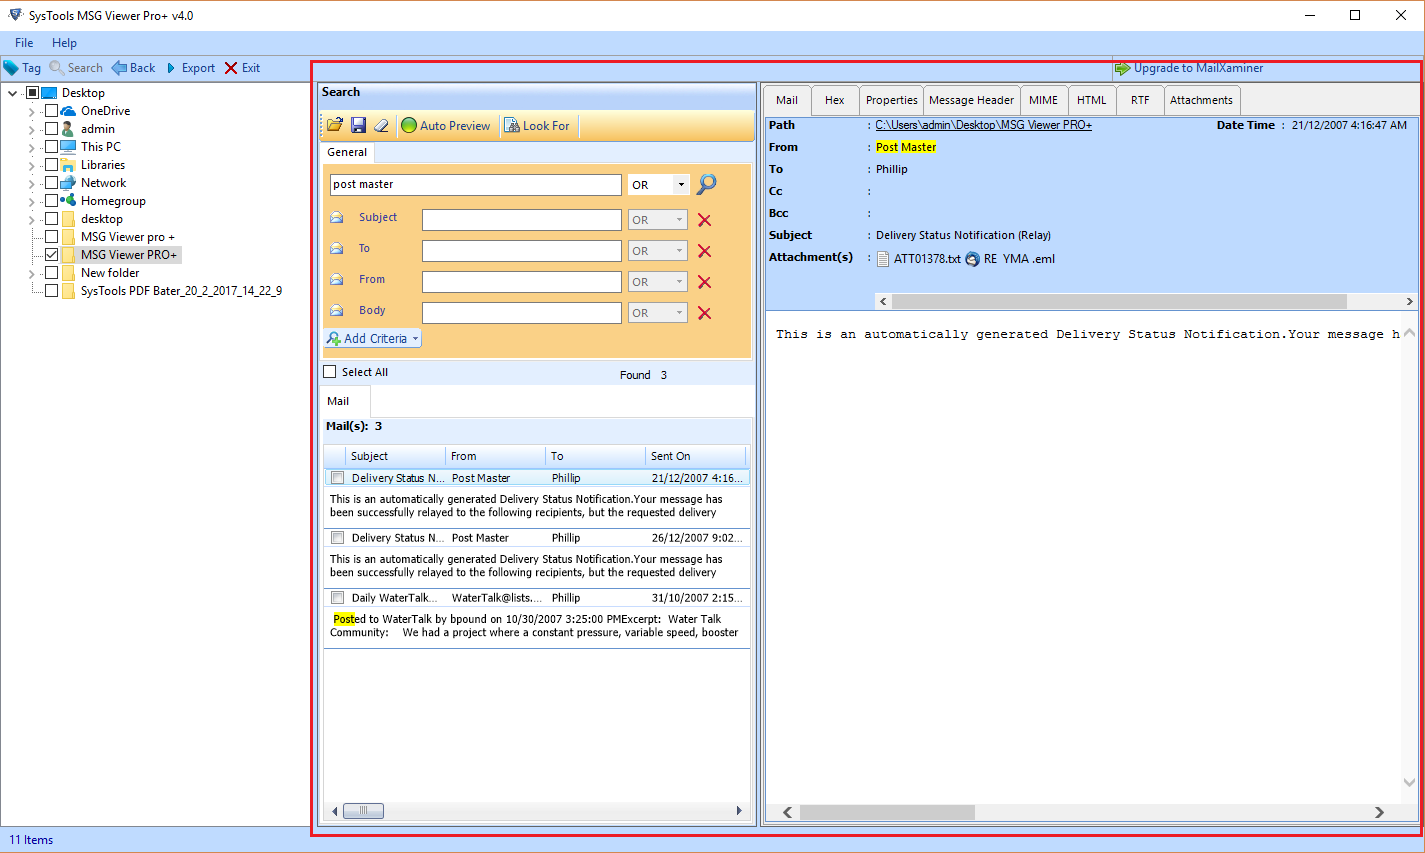
Now, you can view the file.

STEP 13

Click on Export button to start the export process.

STEP 14

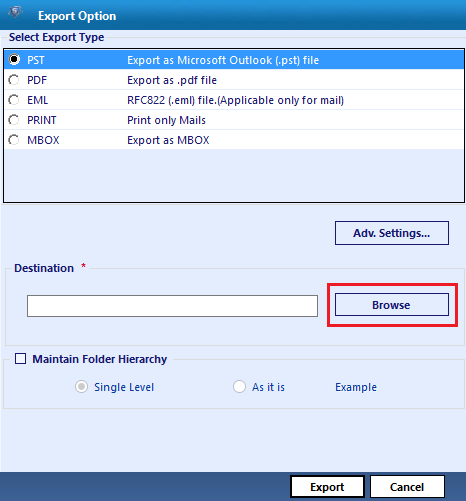
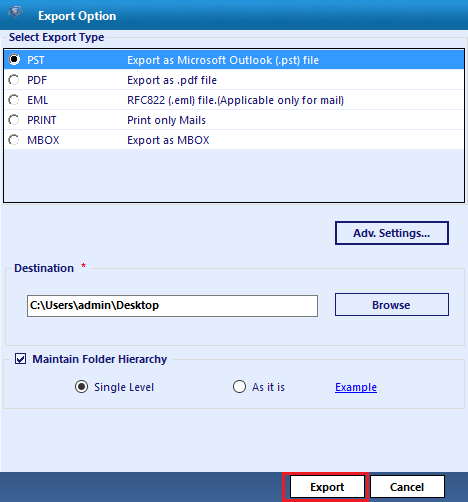
After selecting Export button, you need to select the file format.

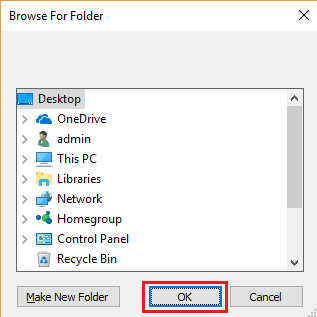
The tool also provides Browse to select destination location to save converted files.

STEP 15

Now, select the location where you want to save the files.

STEP 16

The tool also provides an Advanced option with the help of advanced option you can split PST file and filter specific file to export. Then click on save button.

STEP 17

Click on Ok button to save settings.

STEP 18

Now click on Export button.

STEP 19

Now, export process will start.

STEP 20

Export process completed.

STEP 21

Click on Ok button. The tool generates export process, you can save export process by clicking on Save button.